Some of you who have been here for a while may remember some years ago my showing this fabric that I had gotten for curtains and asking advice about them.
I am ashamed to say how many years that has been, but it was before we moved to this house {blush}. Thankfully the family room here had the same number of windows similarly sized.
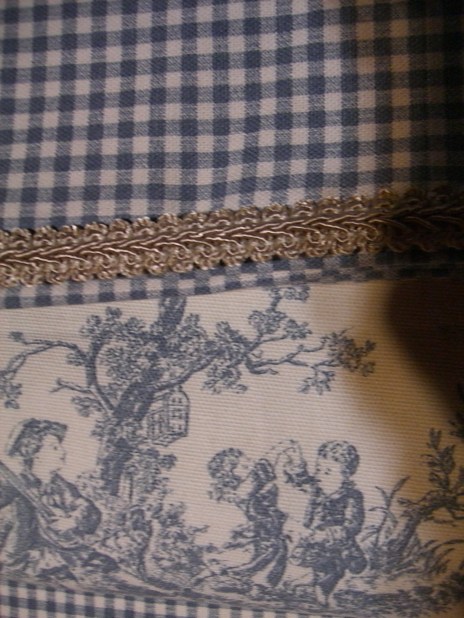
My biggest holdup in any kind of project is deciding what to do. My inspiration for using toile and check came from seeing the combination at a friend’s house years ago. I knew I wanted a valance that used both but had trouble deciding how to do it: toile on top, check on top, which pattern to use, trim or not, etc. After thinking about it every which way I possibly could, I finally decided on what I was inclined to do in the first place.
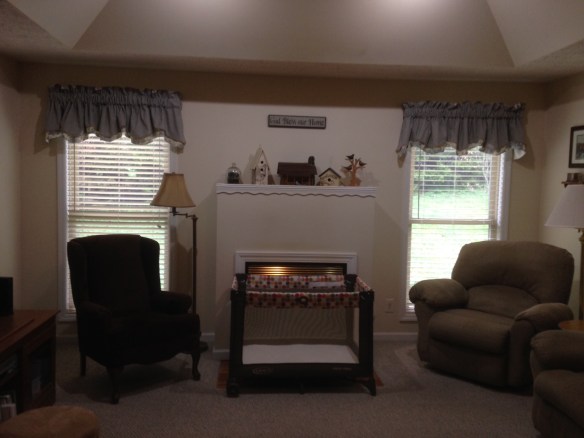
First I’ll show you the valances that were here when we moved in:
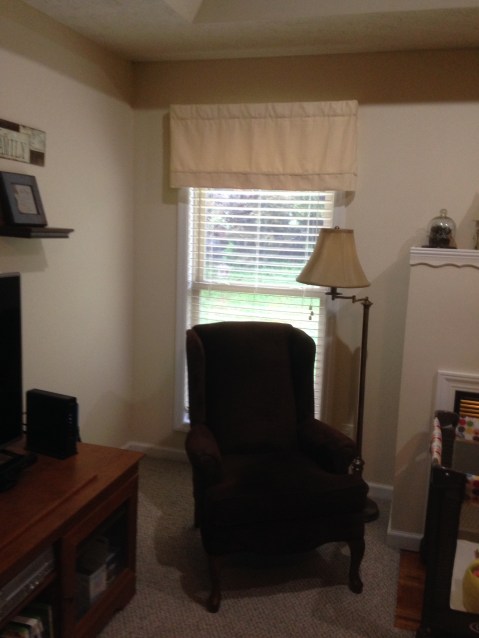
BEFORE: Old Valance

BEFORE: Old valance
I apologize for the lighting in all of these. It was an overcast day, and even with all the lights on I couldn’t get the lighting right, then my phone camera kept wanting to focus on the window. These valances were all right – in fact, up close they had a lot of nice detail. But it was lost there on the window, and the beige valance on beige walls was pretty blah.
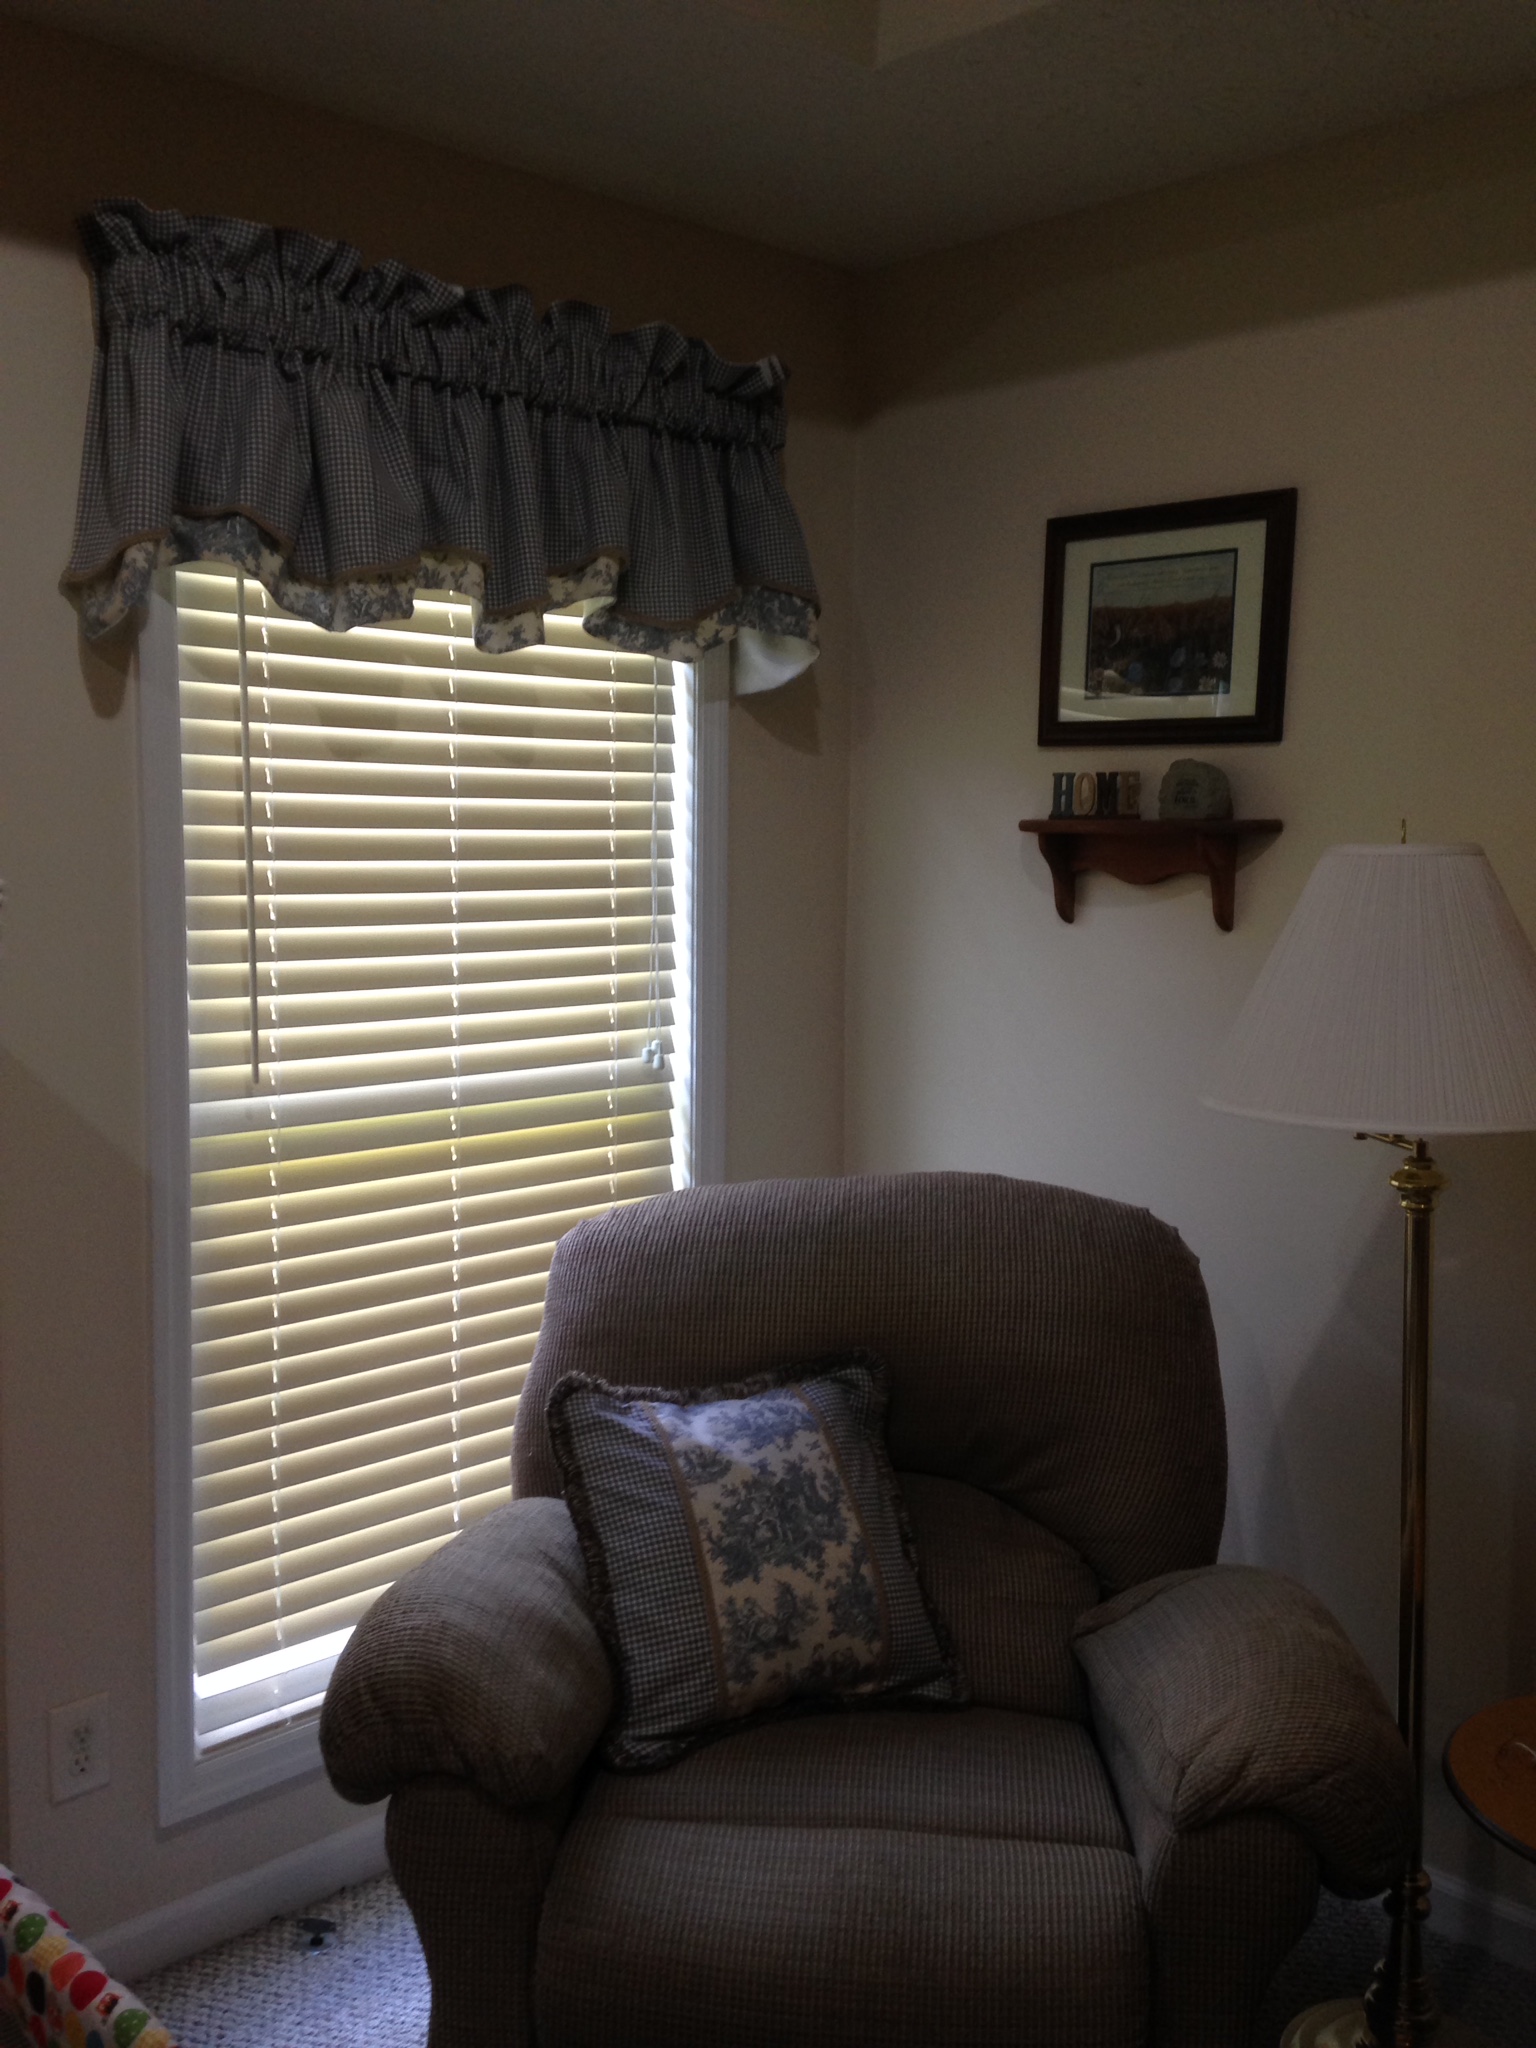
So this is what I came up with for the new valances:
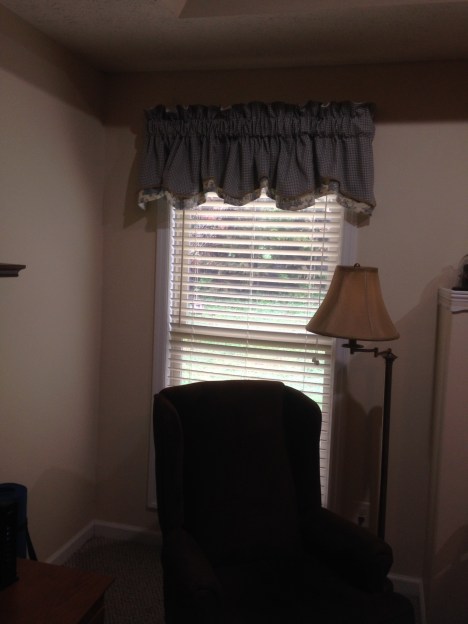
AFTER: New valance
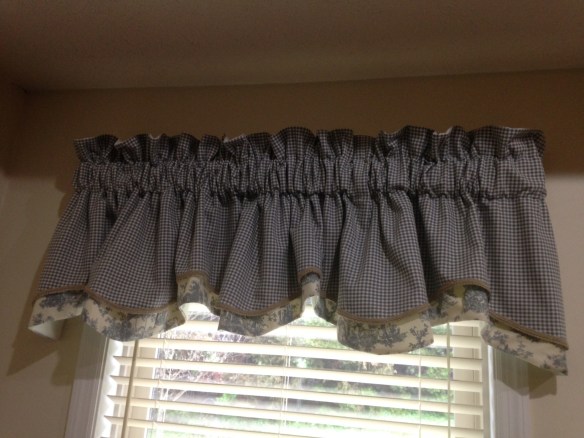
AFTER: New valance
 Eventually I want to make curtain panels as well. But I need to make a date with my husband to hang the rods for that. 🙂 This was a good stropping place for now.
I used this McCall pattern. I gave some thought to just adding a strip of the toile to the bottom of the check fabric rather than making the double valance that was called for, and in some ways I wish I had: even though these were attached, it was like making four valances rather than two. I did lengthen them a couple of inches from what the pattern specified.
When my dear husband was helping me hang them, he asked if I had ever thought about making them professionally. I thought to myself, “Oh, my dear, if you only knew….” I make way too many mistakes to sew professionally. I tend to do the dumbest things when I sew. For instance: the pattern called for a 1/2 inch seem. So instead of placing the fabric to the left of the 5/8″ guide mark on my machine, I placed it to the right, and then thought that seemed like an awfully wide seam allowance that was just going to be cut off. Then I realized my mistake, thankfully before I had gotten too far. There is a pretty major mistake with the lining on one, but since it was the lining and not in front and not obvious, I left it. But I did know what to watch for when I made the second one.

I won’t bore you with all the flaws, but there are plenty. Thankfully they came out looking relatively well for all that.
At one point I wished I had the buffalo check that’s so popular these days, but since I already had this on hand, I felt like I should use it instead. But then, I told myself, if the buffalo check is trendy now, it might not be a few years from now, and the regular toile and check combo is fairly classic. Yet when I got these done I thought they looked more country-ish, which I am trying to get away from, rather than classic. But I am telling myself that’s just my imagination and they do look classic. 🙂
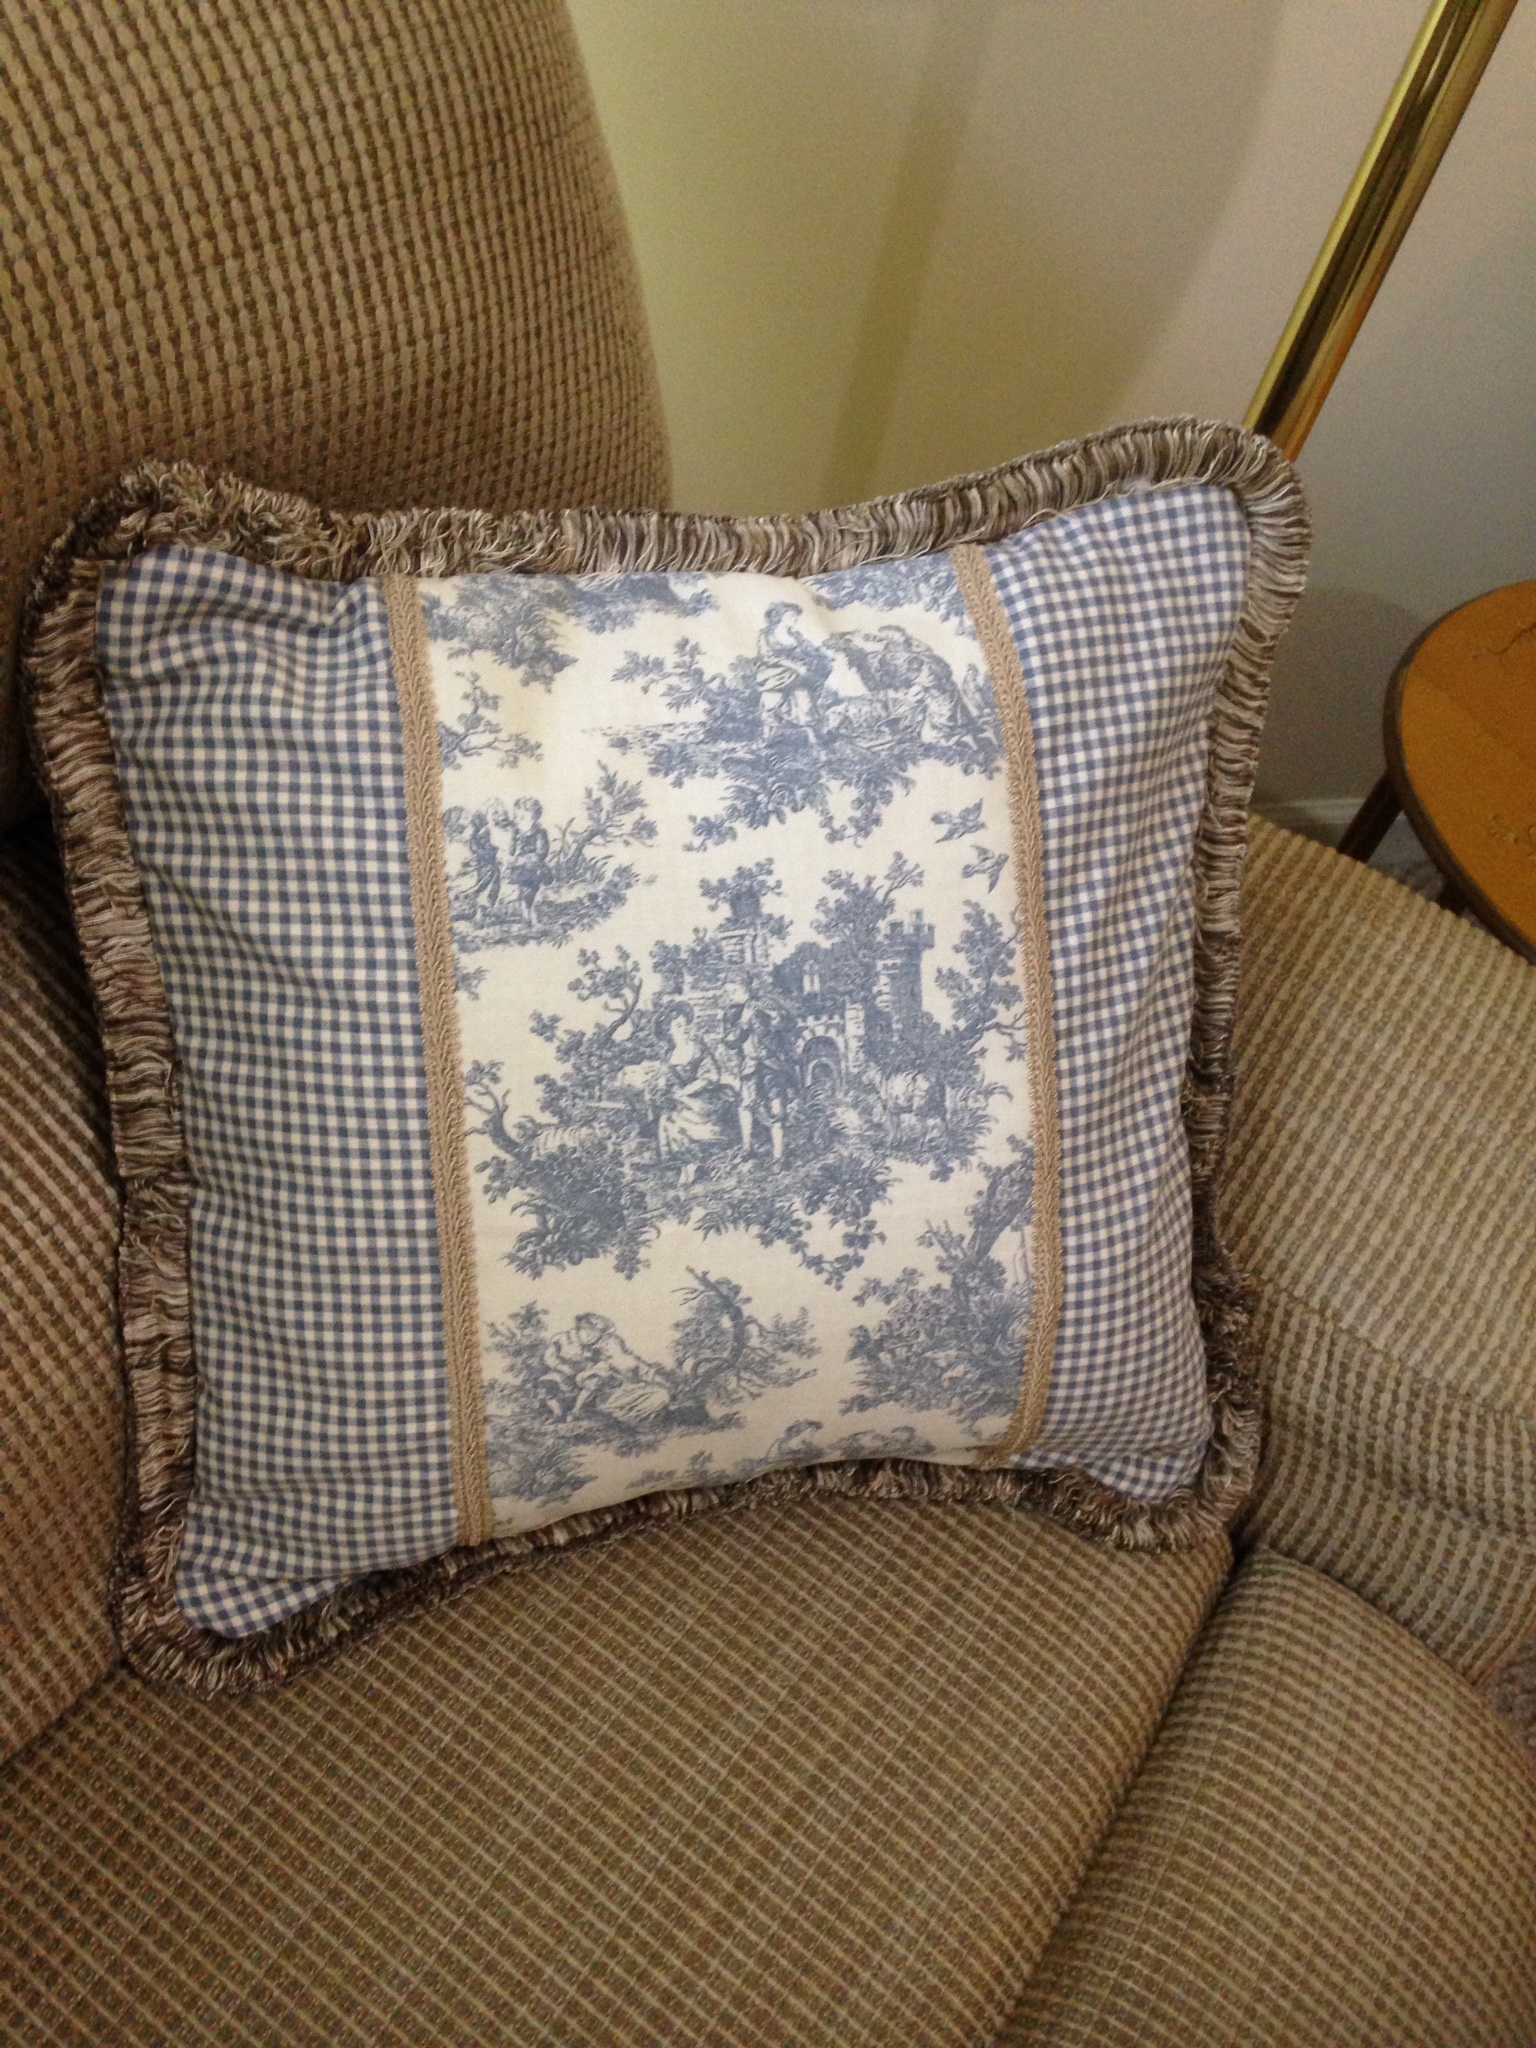
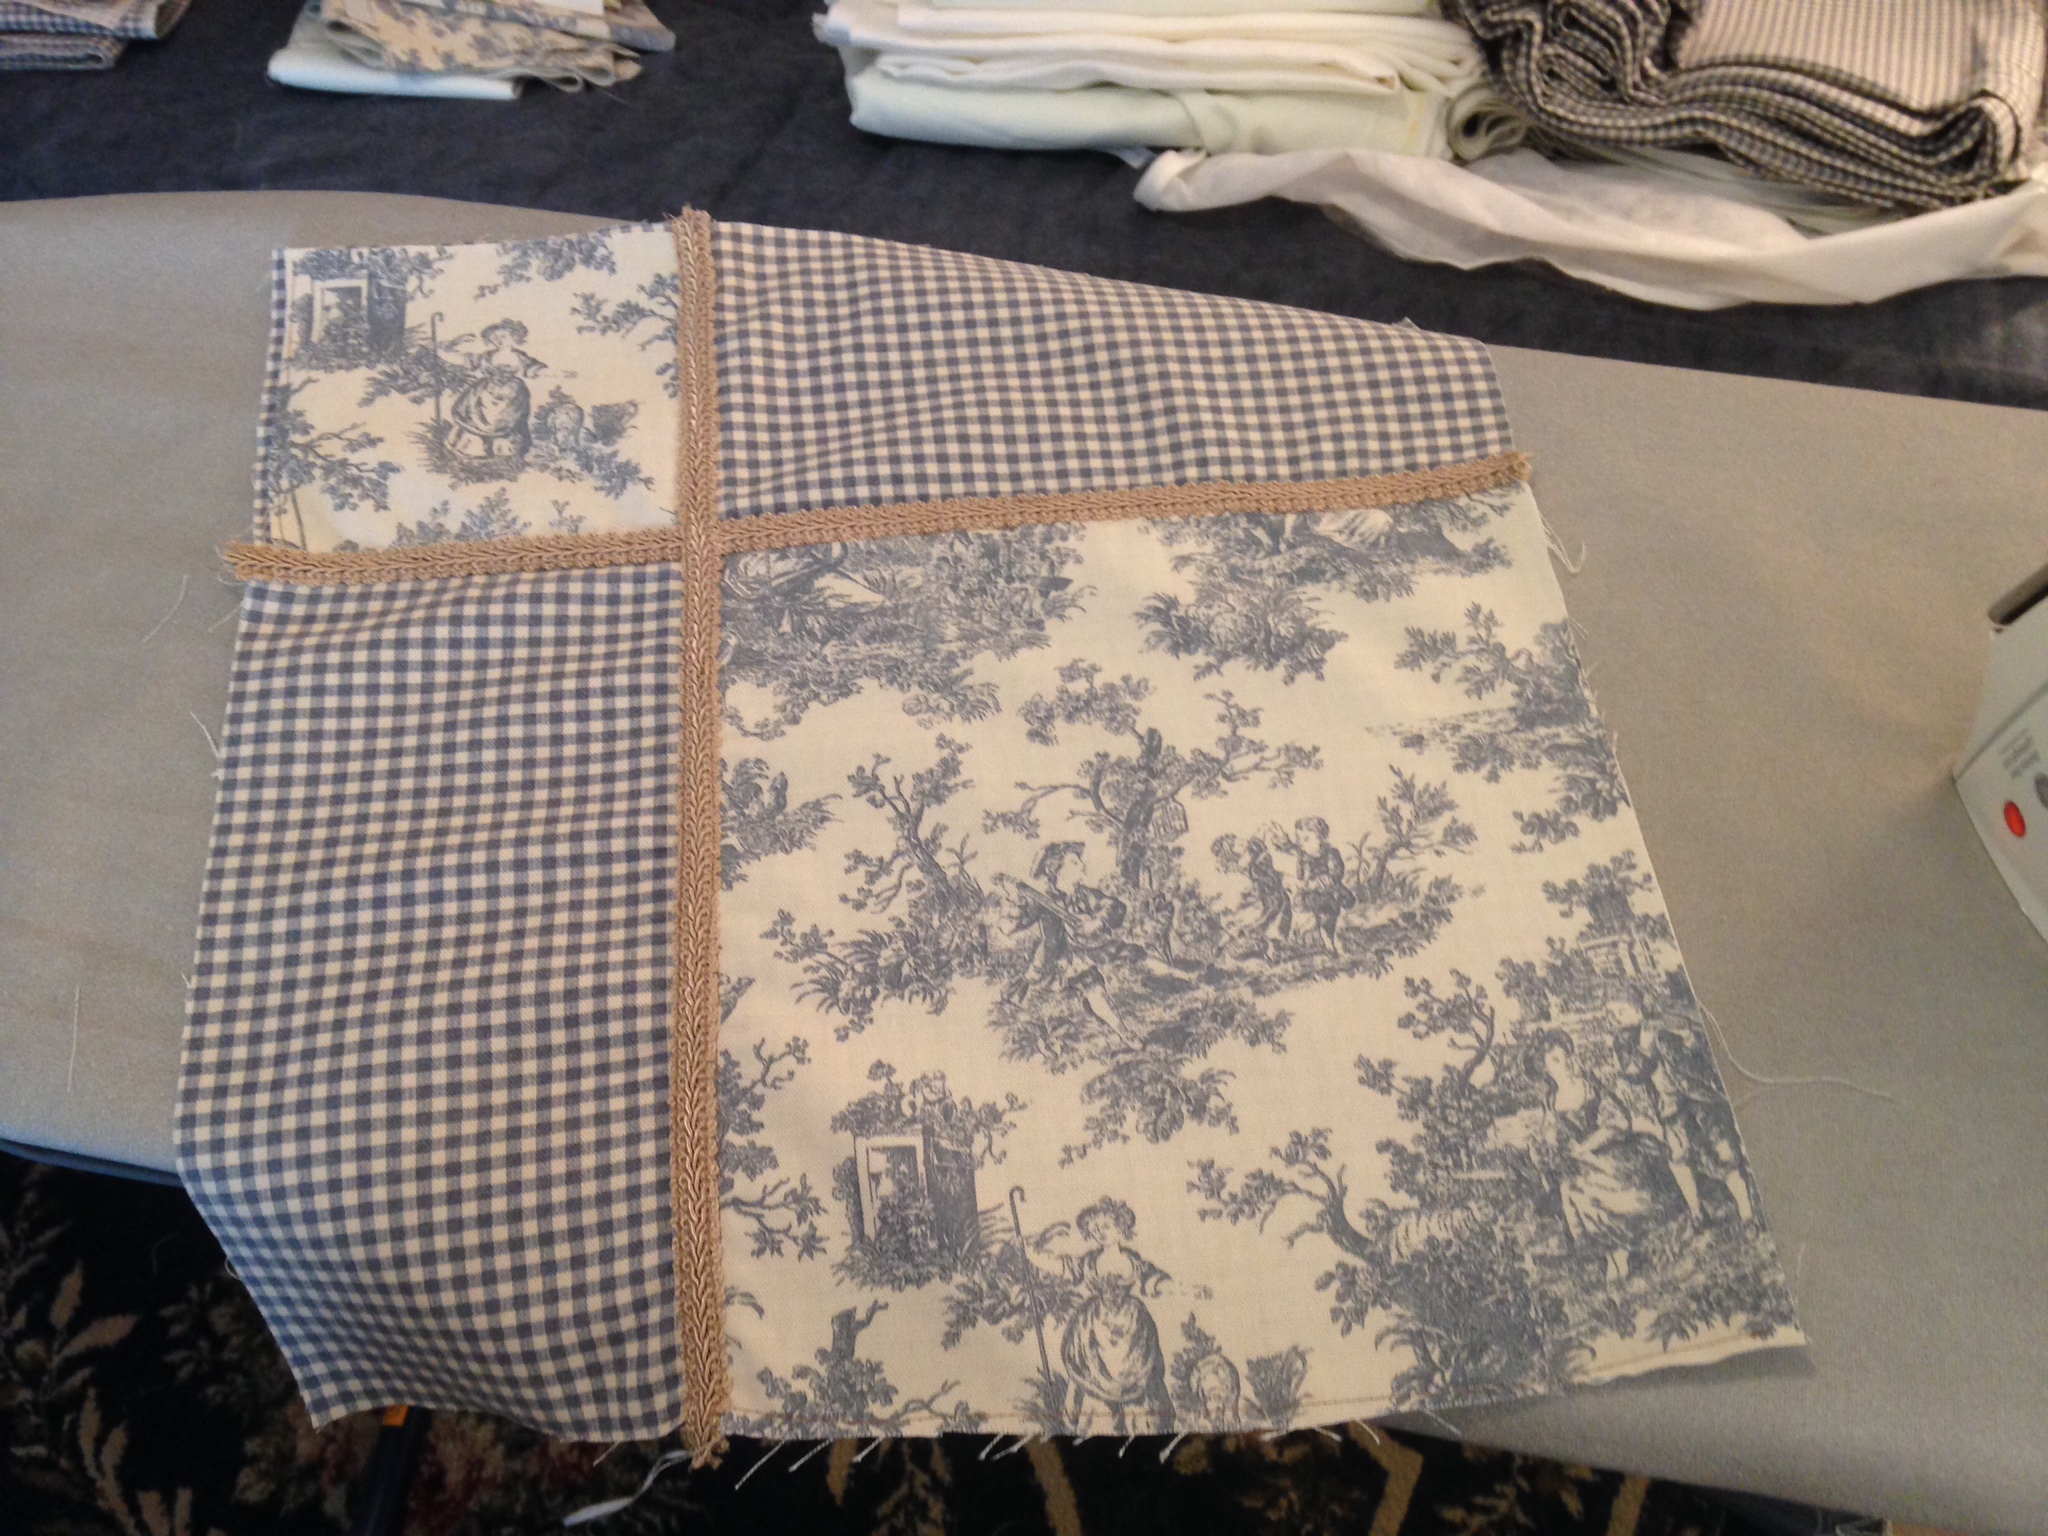
I also wanted to make a couple of pillows, mainly to tie the room together but also because I have a couple of old ones that are about ready to be retired. I got the idea for this one from here as well as instructions for making an envelope pillow.

I really liked doing an envelope cover rather than stuffing a pillow! I went back and forth with whether or not I liked this as much as I thought I would, but it does accomplish its purpose in tying the room together, I think.

I also made the front and back for another one, based on this one seen on Pinterest (I found the other one originally on Pinterest as well). I was originally going to add lace like that one has, but decided I liked this design:

I’m trying to decide whether I want to put cording around the edges or not. I’m going to see what Hobby Lobby has and then decide from there. But it shouldn’t take to long to finish up either way.
I love the trim, which I learned is called gimp, and thought it would be the easiest part to deal with, but I found it’s a little hard to keep in place – it kept wanting to pull over while I was sewing. And I did learn not to stretch it while sewing! I did that in a couple of places on one pillow, which made the fabric look a little puckered, but thankfully it evened out with pressing.
There’s one more I’d like to do, as well as the longer curtain panels, but this is a good stopping place for a week or so. My oldest son is coming in this weekend, and a very special grandson is having his first birthday next week, so I need to turn my attention to other pursuits just now. 🙂 With trying to get these done I haven’t been to visit you all like I normally would, and I hope to catch up soon.

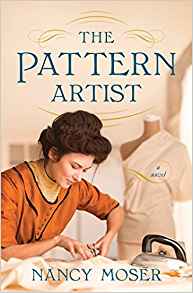 In The Pattern Artist by Nancy Moser, Annie Wood left her dysfunctional family to go into service as a housemaid in England in 1911. She had a knack for sewing and alteration and hoped those skills would pave her way towards becoming a lady’s maid. She accompanied the family on a visit to America, and a number of factors worked together to compel her to run away with a couple of friends to see what life had to offer in this country.